
Laminate Flooring Installation Checklist
A beautiful laminate floor starts before the first plank is installed. From choosing the correct flooring and underlay to preparing the subfloor, allowing for expansion and selecting the right finishing profiles, proper preparation makes all the difference.
Preparation makes all the difference.
Every successful laminate flooring installation begins with the correct preparation. Your flooring needs to suit its intended application, the substrate must be properly prepared, the correct underlay must be used, and the floating floor needs sufficient freedom to expand and contract.
Whether you are preparing for a professional installation or simply want to understand what should be ready on site, use this laminate flooring installation checklist before the first plank goes down.
Take the Installation Checklist With You
Download our printable FINfloor Laminate Flooring Installation Checklist with a visual guide to the tools, preparation, finishing accessories and floor-care essentials you may need.
What should be ready before installation?
Get these eight essentials sorted before installation day and avoid unnecessary last-minute trips back to the flooring store.
Get the installation basics right.
Laminate flooring is installed as a floating flooring system. Good preparation underneath and around the floor therefore plays an important role in the appearance and long-term performance of the finished installation.
Choose the correct laminate flooring
Select a laminate floor that is suitable for the intended room and expected level of traffic.
FINfloor offers laminate flooring for residential and commercial applications across different performance classifications, décors and plank formats.
Explore FINfloor laminate flooring →Order enough flooring
Measure the installation area carefully and include an appropriate allowance for cutting and wastage.
Irregular rooms, angled areas and more intricate installation layouts can require additional material, so plan before ordering.
Prepare the subfloor
The substrate should be clean, dry, stable, level and properly prepared before the laminate flooring is installed.
Significant unevenness or unsuitable substrate conditions can place unnecessary stress on the floor and its locking system.
Check moisture conditions
Never assume that a screed or substrate is ready simply because its surface appears dry.
Follow the moisture requirements applicable to your chosen flooring and use the appropriate vapour barrier or moisture-protection system where required.
The layer you don’t see still matters.
Underlay sits between the laminate flooring and the prepared substrate and plays an important role in a floating floor system.
Depending on the selected product and installation conditions, suitable underlay can contribute to stability, acoustic performance, cushioning, thermal insulation and moisture protection.
Different installations can require different solutions, so always select an underlay that is compatible with your chosen flooring and substrate.
Learn more about FINfloor underlay →Have the right tools ready.
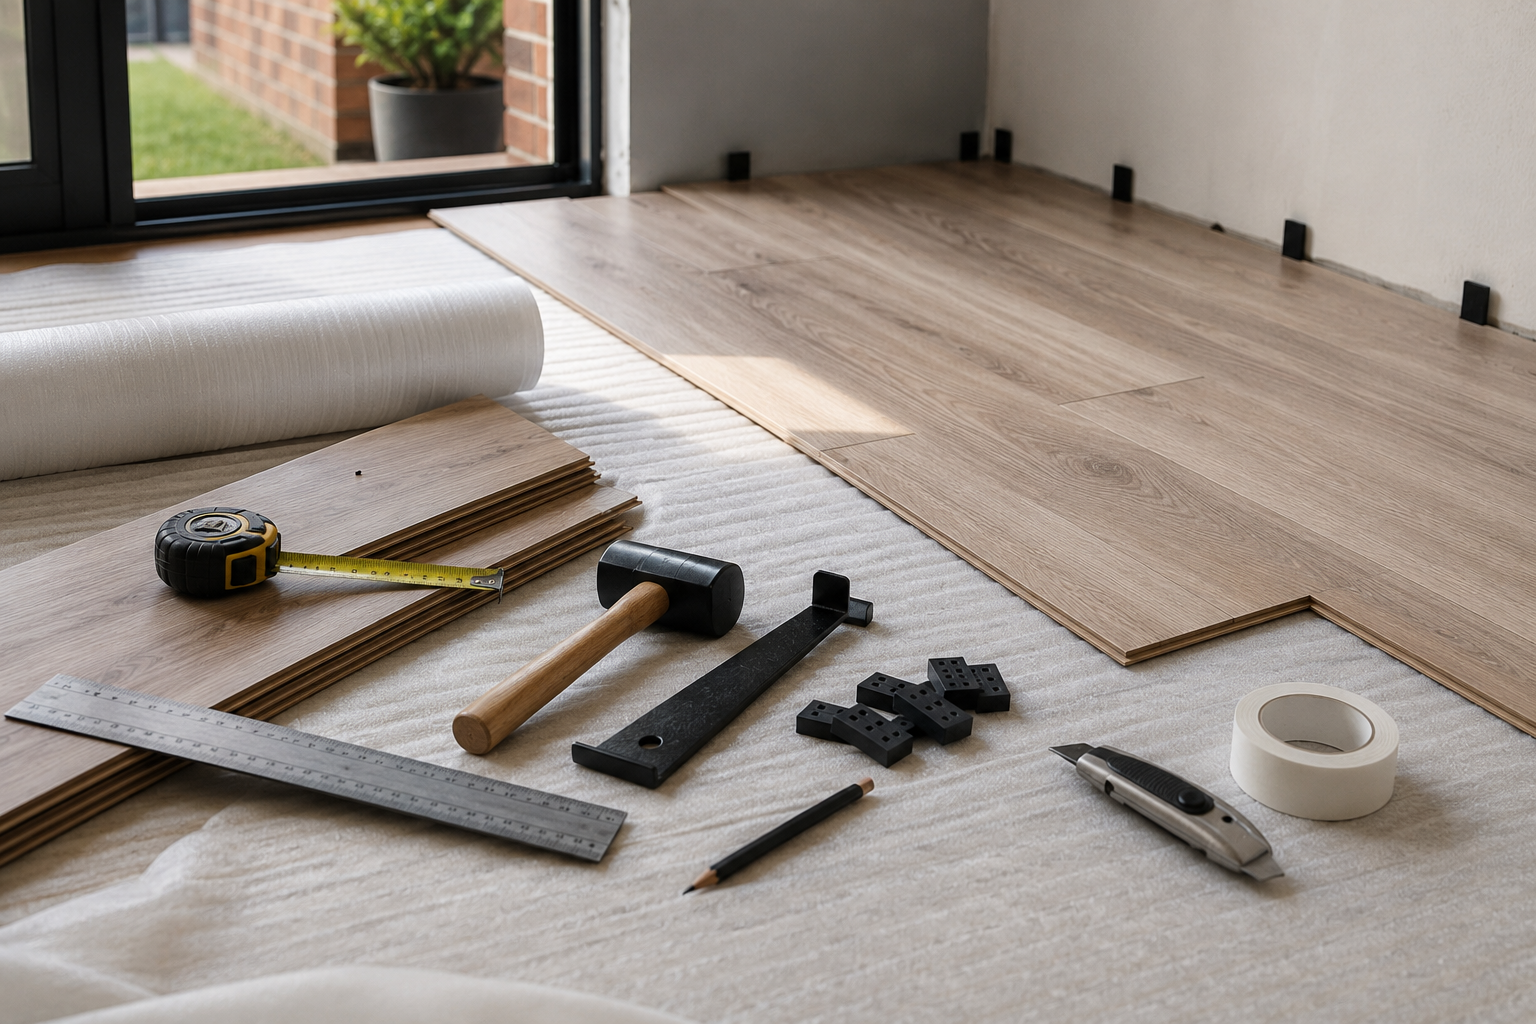
The exact equipment required may vary according to the flooring collection and installation conditions, but a typical laminate flooring toolkit can include:
Browse FINfloor installation and technical resources →
Allow your floating floor to move.
Laminate flooring naturally responds to environmental conditions. A floating floor must therefore have sufficient freedom to expand and contract without being trapped by walls, fixed cabinetry or other permanent building elements.
Plan your expansion gaps
Use flooring spacers during installation to maintain the expansion clearance specified for your chosen laminate floor.
Expansion requirements should also be considered around fixed elements and between areas where specified by the manufacturer.
Check doors and fixed fittings
Remember that your finished floor height includes both the laminate plank and the underlay beneath it.
Check door clearances, sliding doors, cupboards and other fixed elements before installation begins.
Don’t pin the floating floor down
Skirting and finishing trims should cover the perimeter expansion area without permanently fixing through the floating laminate floor itself.
The flooring must remain free to move beneath the finishing details.
Check underfloor heating requirements
If laminate flooring is being installed over underfloor heating, confirm that both the selected flooring and heating system are suitable before installation begins.
View laminate underfloor heating requirements →Profiles, trims and skirting.
A professional laminate flooring installation doesn’t stop when the final plank clicks into place. Plan your profiles and finishing accessories before installation so that exposed edges, transitions and expansion areas can be finished neatly.
Explore FINfloor solid oak profiles and flooring accessories →
Protect your new laminate floor.
Once the installation is complete, a few simple preventative measures can help maintain the appearance of your laminate flooring and reduce avoidable scratching and wear.
Use felt furniture pads
Place felt protectors underneath furniture feet and chair legs to help minimise scratching when furniture is moved.
Use suitable cleaning equipment
A microfibre mop, soft broom or vacuum cleaner suitable for hard flooring is generally ideal for routine cleaning.
Use dirt-trapping entrance mats
Quality entrance mats help capture sand, grit and loose dirt before these abrasive particles are carried across the floor.
Discover more FINfloor flooring advice →
Your laminate flooring installation checklist.
Before installation day, check that the following items and preparations have been taken care of.
- Correct laminate flooring selected
- Enough flooring ordered
- Subfloor inspected and prepared
- Moisture conditions checked
- Correct underlay selected
- Vapour barrier where required
- Tape measure and pencil
- Flooring spacers
- Tapping block
- Pull bar / heel iron where required
- Rubber mallet
- Suitable cutting equipment
- Expansion profiles
- Transition / reducer profiles
- Skirting or quarter rounds
- Door clearances checked
- Installation instructions available
- Furniture felt pads
- Microfibre cleaning equipment
- Dirt-trapping entrance mats
Download the Printable Checklist
Keep the FINfloor laminate flooring installation checklist on your phone or print an A4 copy so that you can tick off each requirement before installation begins.
Find the right FINfloor laminate for your space.
Explore FINfloor’s laminate flooring collections, compare styles and performance options, or visit your nearest flooring specialist for professional advice.